购物车空
继续购物Levels 30–40 are where an efficient grind starts to depend on more than finding an open map. In MapleStory Classic World, we need to balance monster availability, party coverage, travel time, damage consistency, and potion costs. Our approach is to treat the route as a practical decision: stay in Damp Forest while its Meso returns justify the slower experience, then consider Deep Ant Tunnel 1 when a coordinated party can make the longer trip worthwhile. Keeping your MapleStory Classic World Mesos budget under control matters just as much as gaining levels.
Our route follows our team, who stayed in Damp Forest from level 30 to 35 before moving to Deep Ant Tunnel 1 for levels 35–40. The build also changes after Bow Mastery receives heavy investment: Double Shot takes priority, while Amazon's Judgment is used to test a safer kiting approach. These are the player's choices, not universal rules. We recommend using them as a starting point, then judging the results against your own damage, equipment, party, and current version.

The main route has two stages. Damp Forest offers convenient access and, according to the player, strong Meso returns despite less impressive EXP. Deep Ant Tunnel 1 is farther away, but a well-organized party can make the trip worthwhile by dividing the map into clear responsibilities.
| Level range | Main training spot | Why consider it | Main drawback |
|---|---|---|---|
| 30–35 | Damp Forest | Familiar route, convenient resupply, and reported Meso potential | EXP may feel slower than other options |
| 35–40 | Deep Ant Tunnel 1 | Multiple sections can be covered by a coordinated party | Longer travel and more complicated party coordination |
| 35–40 alternative | Cursed Eye Tree | Another option if the map suits your damage and playstyle | The player found it less rewarding as an Archer |
| Any stage in this range | Other Ant Tunnel maps or Kerning City Party Quest (KPQ) | Alternatives when the main maps are crowded | Availability and efficiency depend on competition and party access |
These options should not be treated as a fixed ranking. A map that works well for one Archer may perform poorly for another if the character needs extra hits to kill monsters or cannot secure a useful platform. Community training references also list several viable areas in this level band, reinforcing the need to compare real conditions rather than follow one route blindly. Map and level reference.
The player stayed in Damp Forest until level 35. The main argument was not that the map offered the fastest leveling, but that its Meso returns made the slower pace acceptable.
That distinction matters. When a map is crowded, constantly switching channels or competing for the same spawn can waste time. If you already have a workable spot and can keep attacking without excessive potion use, staying put may be more practical than chasing a theoretically better map.
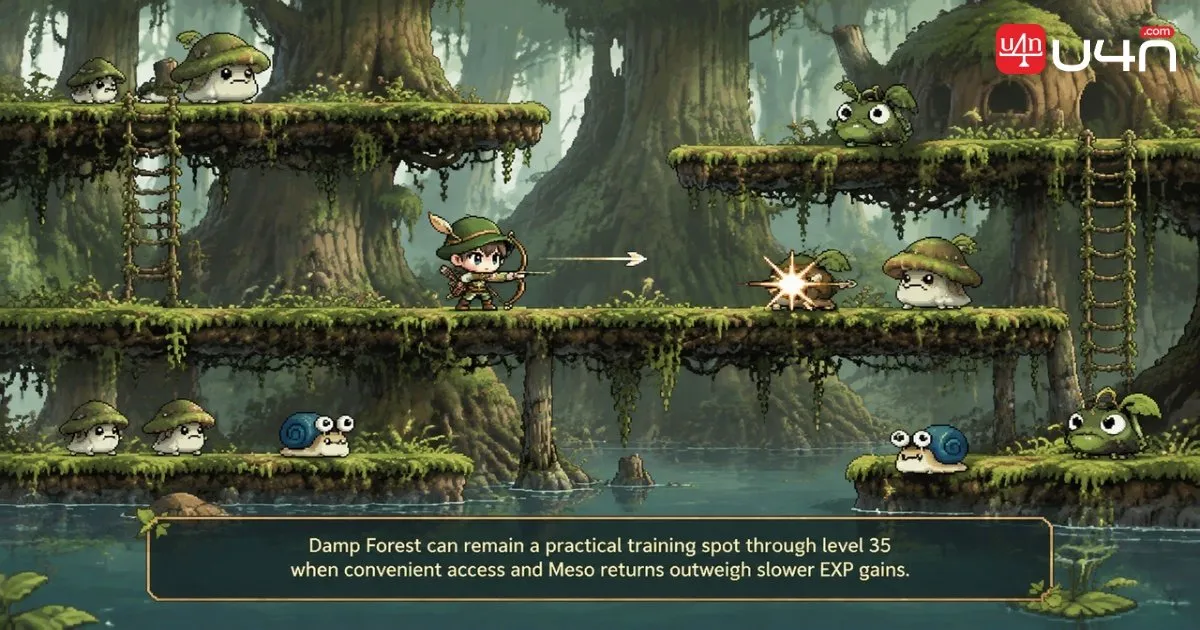
For Archers who struggle to compete across the whole map, the player recommends starting at the uppermost section, referred to in the video as the “goolog.” From there, move toward the middle or lower platforms as your level and damage improve. Sharing a section with another player can work, provided both characters have enough targets, and neither spends too much time waiting.
Before committing to another session, check three things:
If your EXP progress feels slow but your costs are low, and your currency balance is improving, Damp Forest may still serve a purpose. If both EXP and Meso returns are poor, it is time to compare alternatives.
The player's next destination is Deep Ant Tunnel 1, reached by traveling through Sleepywood and the Ant Tunnel area. The journey is longer than a quick trip to a nearby field, and that travel time should be part of the decision.
The main advantage is the potential to divide the map among party members. Instead of having everyone chase the same monsters, each player can cover a defined section and maintain a more consistent attack cycle. This only works when the group agrees on responsibilities before the grind begins.
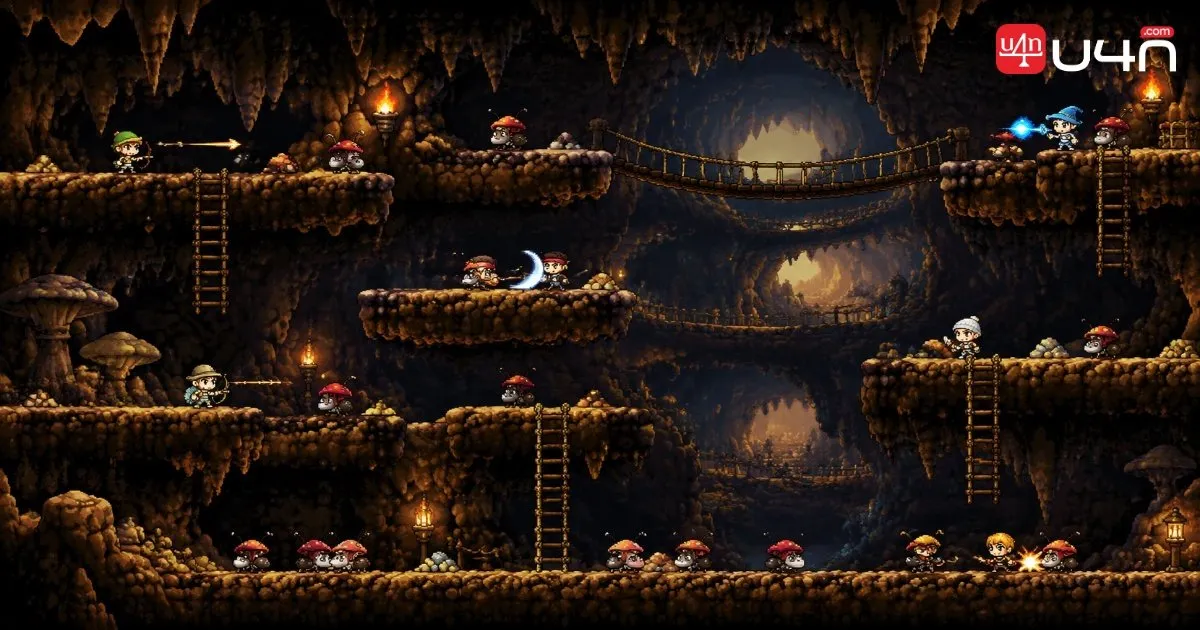
The player considers five people the most comfortable party size for this map. Six can work, but the extra member may create overlapping coverage or leave someone with too few targets. Treat this as a field observation, not a hard party-size limit.
| Map section | Suggested responsibility | What to watch |
|---|---|---|
| Upper-right area | One player covers the upper-right section | Keep the assigned area clear without pulling other members away from their target.s |
| Upper-left platforms | Archer covers the upper platforms and nearby targets | Use ranged attacks to reduce unnecessary movement |
| Right-side section | Assist with nearby monsters when needed | Avoid repeatedly clearing the same targets as another member |
| Middle section | Another member handles the assigned middle area | Keep coverage consistent as monsters respawn |
| Lower platforms | One or two players cover the bottom | Add a second player only if spawn volume supports it |
The exact layout should be adjusted to the party's classes, movement skills, and actual spawn pattern. The table is a starting point based on the player's description, not a guaranteed optimal map assignment.

A remote map makes preparation more important. Before starting, agree on who will leave to buy potions, how the party will cover that player's section, and when everyone should regroup. If one member needs to restock, the rest of the party should be able to continue without leaving an entire area uncovered.
We would also compare the time spent traveling with the time saved through coordinated grinding. A distant map is worthwhile only when its actual EXP and resource returns compensate for the extra journey.
Deep Ant Tunnel 1 is the player's main choice for levels 35–40, but it is not the only option. The video also mentions Cursed Eye Tree, other Ant Tunnel maps, Ant Tunnel Park, and KPQ.
| Alternative | When it may be worth trying | What can hold it back |
|---|---|---|
| Cursed Eye Tree | You want to test a different monster and map layout | The original player did not find it particularly rewarding for an Archer |
| Ant Tunnel 1 or 4 | The main deep tunnel is crowded, or your party prefers a different layout | Spawn distribution and competition can vary |
| Ant Tunnel Park | You want another option within the same general area | The best result depends on available targets and kill speed |
| Kerning City Party Quest (KPQ) | You can reliably find a group and enter without excessive waiting | Party access and queues may make it impractical |
Do not switch maps simply because another player recommends one. Test a location long enough to judge its actual performance, and compare it with your current spot using the same criteria: EXP gained, monsters killed, consumables spent, and time lost to travel or waiting.
The player specifically found Cursed Eye Tree less attractive for their Archer and invited other players to share their results. That is useful context, but it does not establish that the map is bad for every Archer. Your damage, accuracy, equipment, and party conditions can change the outcome.
The most significant change in the player's build comes after investing heavily in Bow Mastery. Instead of continuing to focus on Arrow Blow, the player now uses maxed Double Shot and invests in Amazon's Judgment to test whether slowing enemies makes training safer and more sustainable.
This is a build experiment rather than a claim that Double Shot is always superior. Skill performance depends on the target, skill rank, current game rules, and the rest of the character's setup. We recommend comparing actual results before spending points or paying for a reset.
The player prefers Double Shot because it fires two arrows and believes this works well with the character's reported critical rate of 37%, including a bonus from level 35 gloves. With Bow Mastery already heavily developed, the player also feels that damage is more consistent and Double Shot performs well enough for the chosen grind.
There are two important qualifications:
Before copying the build, compare Double Shot and Arrow Blow against the same monster type. Track how often each skill kills in one attack cycle, how much MP it consumes, and whether the difference changes your EXP or Meso returns.
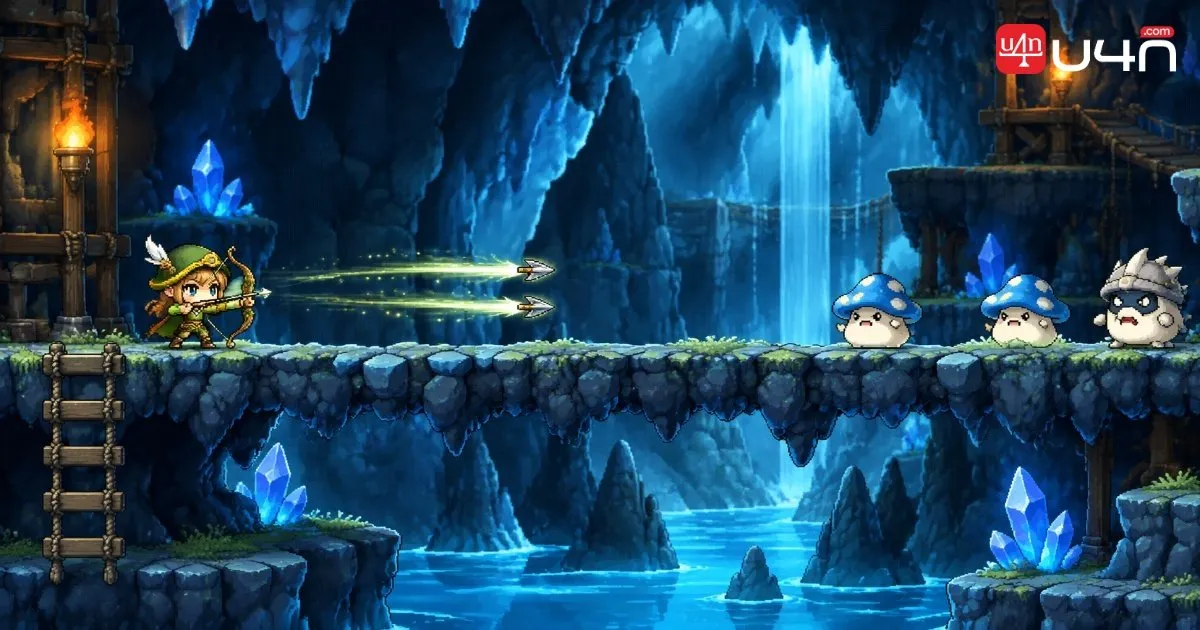
The player is also investing in Amazon's Judgment to improve the chance of slowing enemies. The intended benefit is practical: when monsters move more slowly, an Archer may be able to maintain distance more consistently, particularly on a long platform.
That can reduce incoming damage and potentially lower HP potion use. However, the value depends on whether the slow effect activates reliably and whether the map gives you enough room to kite. If monsters still reach you quickly or the skill does not meaningfully change your movement pattern, additional points may deliver less value than expected.
The player invests in Bow Booster and Soul Arrow partly for convenience, so the buffs last longer and need less frequent recasting. Soul Arrow is also intended to reduce the need to restock physical arrows while the skill is active.
Arrow Bomb remains a skill the player wants to test more seriously later. The video does not establish that maxing it would improve the current training route, so we should not treat it as either mandatory or useless.
The player also places one point in Final Attack and describes it as an additional attack triggered through regular attacks, with a separate activation step in the version being played. Because the precise behavior can depend on the current skill implementation, check the in-game description before using this explanation to plan a full build.
| Skill | Role in the player's build | What we would evaluate |
|---|---|---|
| Bow Mastery | Core investment before changing the attack setup | Whether damage becomes consistent enough for the chosen monsters |
| Double Shot | Main attack after the build adjustment | Kill speed, critical results, and MP use |
| Amazon's Judgment | Test slowing enemies to support kiting | Reduced incoming damage and potion consumption |
| Bow Booster | Convenience and attack-cycle support | Whether the buff duration justifies the SP investment |
| Soul Arrow | Reduces dependence on physical arrows while active | Arrow savings versus the skill-point cost |
| Arrow Bomb | Possible later investment | Whether its practical use improves the maps you train on |
| Final Attack | Small initial investment in the described build | Confirm the current trigger and activation rules before investing further |
For levels 30–40, our main recommendation is to choose a training spot based on actual results rather than reputation. Damp Forest can remain useful through level 35 if its convenience and Meso returns compensate for slower EXP. From level 35, Deep Ant Tunnel 1 is worth testing when you have a coordinated party, clear platform assignments, and a plan for restocking supplies.
The Archer build deserves the same practical approach. Maxing Double Shot after a heavy Bow Mastery investment and testing Amazon's Judgment may suit a player who values consistent attacks, kiting, and lower potion use. But a different build can still be valid. We would test damage, kill time, and resource costs before paying for a reset or committing more SP.
If your next upgrade or reset depends on your remaining currency, plan your spending before you buy. Players considering buy MapleStory GMS Mesos should still compare the cost of any purchase with their actual progression needs and use trusted, game-compliant options. The goal is a build and route you can sustain—not simply the highest damage number on screen.
It can be, especially if you have a reliable platform and the drops cover your consumable costs. The original player found its EXP less impressive but its Meso returns worthwhile. Track your own results before deciding whether to stay.
It is the main map used in this walkthrough, not a universal best. The longer travel time and the need for coordinated party coverage mean its value depends on the group and current map competition.
The player prefers five because each member can cover a clearer section. Six may still work if the map has enough targets and the party can avoid overlapping responsibilities. Test the setup rather than treating five as a strict limit.
Not automatically. The player's build favors Double Shot after investing heavily in Bow Mastery and with the character's current critical rate. Compare both skills against the same monsters, paying attention to attacks per kill, MP use, and actual training results.
The player wants a stronger slow effect to support kiting, reduce incoming hits, and potentially spend less on HP potions. Its value depends on how reliably the effect works and whether your chosen map allows you to maintain distance.
Not necessarily. The player explicitly says maxing Arrow Blow is a valid choice. Consider a reset only when you understand what the new build should improve and the expected benefit justifies the cost. Confirm current skill behavior and reset prices before making the decision.