购物车空
继续购物Bully can take a lot of punishment in ARC Raiders, so choosing the right weapon matters if you want to bring it down quickly without wasting too many resources. Based on our testing, Wolfpack is the most effective option we found. Three Wolfpack units can kill a Bully when all the rockets connect, although other attempts required four or five. Players preparing for these encounters can also check available ARC Raiders Items before heading into a raid.
We also tested Deadline, Seeker Grenades, and the Hullcracker to see how they compare. Each method can deal meaningful damage, but they differ in ammunition use, setup time, and how much exposure they create during a fight. Here is what our tests showed and how to make each approach more reliable.
For our damage tests, we used 3,000 HP as the Bully's health benchmark. That gives us a useful reference when comparing explosive damage and weapon performance.
However, dealing enough theoretical damage is only part of the fight. Bully can pressure you while you prepare your next attack, and nearby ARC enemies can interfere with your equipment. A method that looks efficient on paper may become expensive if several rockets miss or another enemy draws their attention.
The goal is to deliver enough damage in a short window while keeping yourself out of danger. This is why we paid particular attention to Wolfpack's tracking and the setup required by other explosive options.
Wolfpack gave us the clearest results across the different methods. In our recorded attempts, we used five units in one fight, four in another, and only three in the most efficient attempt.
| Test scenario | Wolfpack used | Result |
|---|---|---|
| Other ARC enemies nearby | 5 | Bully defeated; some rockets were diverted |
| No nearby ARC interference | 4 | Bully defeated |
| All rockets hit Bully | 3 | Bully defeated |
The difference comes down to how many rockets actually reach the target. In one attempt, nearby ARC enemies such as a Squawker, Hornet, and Wasp interfered with the attack. Some rockets tracked those enemies instead of Bully, pushing the total cost to five Wolfpack units.
When the area was clear, the results improved. One test took four units, while another brought Bully down with just three. The latter dealt approximately 3,000 damage in the recorded fight.

Our recommendation is to treat three Wolfpack units as a successful low-cost result, not a guaranteed requirement. If the area is crowded or the rockets do not all track Bully, prepare for a higher total.

Deadline can deal substantial damage to Bully, but our tests did not show it as a reliable standalone one-shot option. One attempt recorded 1,132 damage, while another came close to the 3,000 HP benchmark at approximately 2,899 damage. Neither result establishes a consistent one-hit kill.
Placement also matters. In one test, placing Deadline near Bully's front shield produced roughly 1,000 damage, which was not an efficient result. Another attempt placed it between Bully's legs, but the explosion still did not finish the target. Bully survived and required additional Anvil shots before going down.
A more practical approach is to combine Deadline with another source of damage.
This is not a guaranteed combo. The timing and damage can vary, so be ready to continue attacking if Bully survives the initial explosions.
One important detail: do not jump while using Photoelectric Cloak. In our test, jumping canceled the cloak, which can leave you exposed just when you are trying to get close.

We also tested a level-four Hullcracker with an amplified setup and a quick magazine. Although it can damage Bully consistently, the total ammunition requirement made it less appealing for this particular fight.
In the recorded attempt, it took 27 Hullcracker shots to bring Bully down. That is a considerable amount of ammunition for a single target, especially when Bully can keep attacking while you shoot.
The weapon also requires you to manage several things at once:
Hullcracker remains a possible option if you already have it equipped and want to use conventional weapon damage. However, based on our tests, we would choose Wolfpack when the priority is a faster and more direct Bully kill.
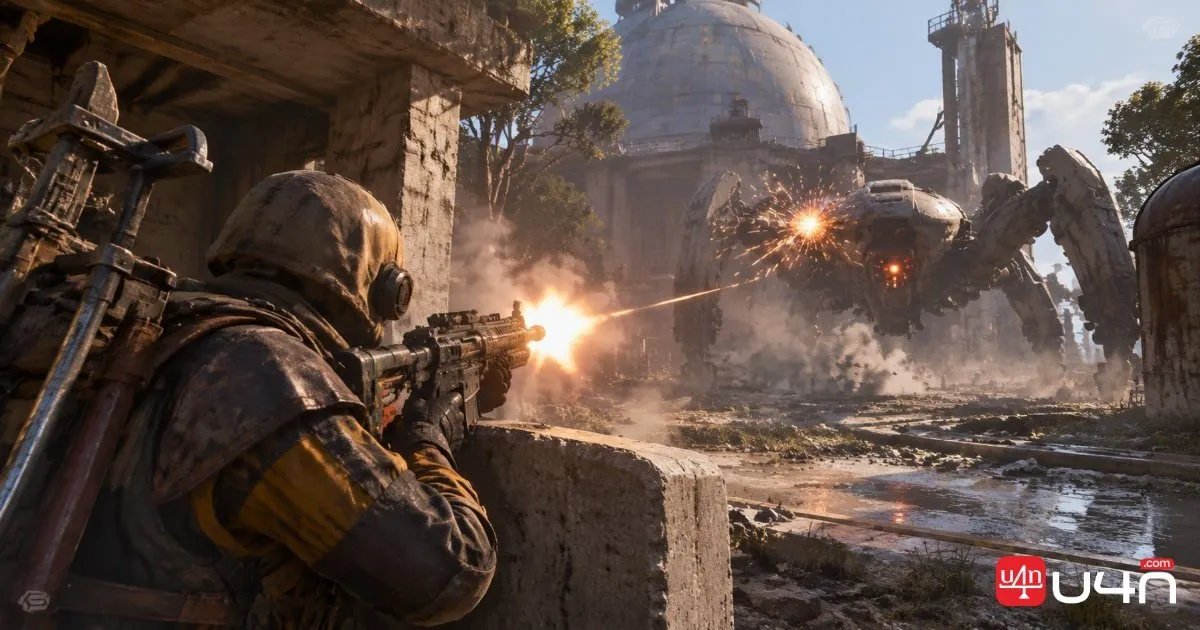
Wolfpack is the method we recommend based on the results in our tests. Three units were enough when every rocket hit Bully, while other fights required four or five because of missed or diverted rockets. Keeping nearby ARC enemies out of the fight is therefore just as important as bringing enough explosives.
Deadline can contribute heavy damage, especially when paired with a Seeker Grenade, but it is not a dependable one-shot solution on its own. Hullcracker also works, although our 27-shot test showed how quickly its ammunition cost can add up.
Before your next raid, consider your available supplies and the risk of the encounter. If you need to prepare your loadout or replenish resources, you can also look into options to buy ARC Coins. The key is to enter the fight with enough damage available and a safe position to use it.
Our tests recorded successful kills with three, four, and five Wolfpack units. Three worked when all the rockets hit the Bully, but nearby ARC enemies or diverted rockets can increase the amount required.
We did not find Deadline to be a reliable one-shot option. Our recorded damage varied, including one attempt at approximately 2,899 damage against the 3,000 HP benchmark.
The combination performed well in our footage. Deadline provides the initial explosive damage, while the Seeker Grenade adds another source of damage to help finish the target.
One of our recorded attempts used 27 Hullcracker shots. Treat this as a test result rather than a fixed ammunition requirement, since accuracy and combat conditions can affect the total.
Nearby ARC enemies can interfere with the attack and attract some of the rockets. Clearing the area before throwing Wolfpack can help keep more rockets focused on Bully.
Yes. Jumping cancels Photoelectric Cloak. Avoid jumping while using it to approach Bully.