购物车空
继续购物The smartest way to farm in ARC Raiders isn't always to bring better weapons or more expensive gear. Sometimes, the better approach is to enter with a lightweight loadout, focus on valuable loot, and avoid fights that offer little reward. Our team sees naked farming as a practical option for players who want to gather resources without risking a full set of equipment every run.
The strategy works best when we treat each raid as a resource run rather than a fight we need to win. By choosing the right Augment, carrying only essential tools, and making good use of secure pockets, we can limit potential losses while exploring areas such as Frigate and Emperor. If you're planning your next run, browsing the available ARC Raiders Items can also help you decide which resources and equipment deserve priority.
Naked farming means entering a raid without a conventional combat loadout. Instead of investing heavily in weapons and shields, we bring the tools needed to move around, collect loot, and handle basic survival situations.
The main advantage is straightforward: less equipment investment means less gear at risk when a run goes wrong.
Other Raiders can still attack us, and an empty loadout won't make us invulnerable. However, losing a low-cost setup can be easier to recover from than losing a fully equipped build.
This approach is especially useful when our main objective is gathering crafting materials or preparing for future PvP encounters. Rather than spending every session replacing lost equipment, we can focus on rebuilding our supplies and choosing when to take a fight.
The goal isn't to avoid every possible danger. It's to make sure that the value of the loot we collect justifies the risks we take.
The original strategy uses three levels of naked farming. Each one serves a different purpose, from straightforward resource collection to more advanced movement and stealth.
| Farming level | Recommended setup | Main advantage | Best use |
|---|---|---|---|
| Level 1: Basic farming | Mark 2 Augment | A relatively simple, low-cost setup with secure storage | Routine resource collection |
| Level 2: Tactical farming | Mark 3 Augment with traps | Adds options for disrupting or discouraging pursuers | Runs where other Raiders may contest valuable loot |
| Level 3: Advanced farming | Survivor Augment with movement tools and Photoelectric Cloak | Supports more flexible routes and stealth-oriented movement | Experienced players attempting difficult traversal routes |
The exact equipment names and effects should be checked against the current in-game descriptions before copying a build. The important distinction is the role of each setup: basic collection, tactical defense, or advanced mobility.
For ordinary resource farming, we recommend a Mark 2 Augment. Its secure pockets and inventory space make it a practical starting point, while its relatively low crafting cost helps keep repeated runs manageable.
We should bring only what we need to complete the route. If the relevant crafting skill is unlocked and we have the required materials, crafting certain survival supplies during a raid may reduce the need to carry everything from the start.
This level is the easiest place to begin. We can learn the route, understand where loot is worth checking, and get comfortable leaving unnecessary equipment behind.

The second level uses a Mark 3 Augment and focuses on dealing with unwanted attention. The original strategy recommends carrying traps, such as explosive or shock mines, to make pursuit more difficult.
The guide also highlights a smoke effect triggered when the shield breaks. If the effect works as described in the current build, it can help obscure our position and create an opportunity to move away.
These tools are best treated as ways to buy time, not as guarantees of safety. Traps may discourage a pursuer, but they won't automatically win an encounter or secure an escape. We still need to watch our surroundings, avoid predictable routes, and leave when the risk becomes too high.
This setup makes more sense when we're heading into a contested area such as Emperor, where other players may follow someone who has used a key to gain access.
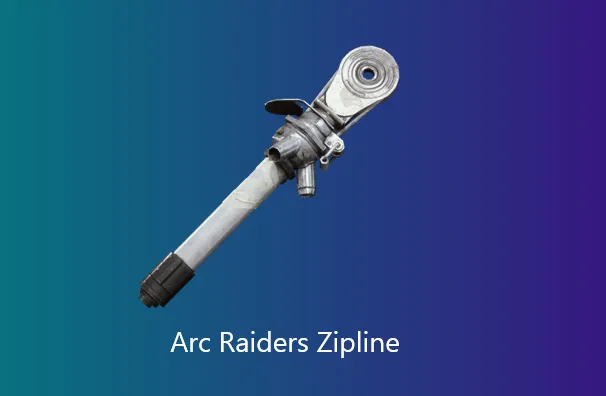
The third level is designed for players who are comfortable with advanced movement. We recommend a Survivor Augment alongside a Zipline, Grappling Hook, and Photoelectric Cloak.
The idea is to reach places that other Raiders may struggle to access, then collect loot without drawing unnecessary attention. A more flexible route can help us avoid direct encounters, especially when the usual approach is crowded.
However, this setup demands practice. Combining movement tools around difficult terrain can lead to mistakes, and a fall may cost valuable time or interrupt the run. We recommend learning the movement sequence in a lower-pressure situation before relying on it during a high-value raid.
Stealth also has limits. The cloak should be treated as a tactical advantage rather than a promise that enemies won't detect us. Good positioning and route awareness remain essential.

We place particular emphasis on reaching Frigate quickly and searching its loot panels in sequence. The central principle is to avoid wasting time before reaching the target.
Before entering, decide which tools are essential for the movement route you're planning to use. A lightweight setup can work well, but bringing too little may leave us unable to complete a difficult traversal.
We should also understand the limitations of our chosen Augment and movement tools. The best setup is the one that supports the route we can execute consistently, not necessarily the one with the most advanced equipment.
Once we reach the relevant platform, we recommend searching the first loot panels we encounter before moving upward to continue the route.
Keep the run focused. Instead of stopping to investigate every distraction, prioritize the containers and panels that fit the farming route. If another Raider appears, reassess the situation rather than automatically committing to a fight.
Continue through the route using the available movement tools to access additional loot panels. Certain weak points may need to be destroyed to expose further loot opportunities.
A successful run isn't just about opening as many containers as possible. We also need to protect the most valuable items we collect.
Use secure pockets according to their actual capacity and item restrictions. If the route becomes dangerous, compare the potential value of continuing with the risk of losing the rest of the run.
The strongest farming route is one we can repeat reliably. A slightly smaller haul with fewer costly failures may be more useful over time than an ambitious route that regularly ends in a loss.
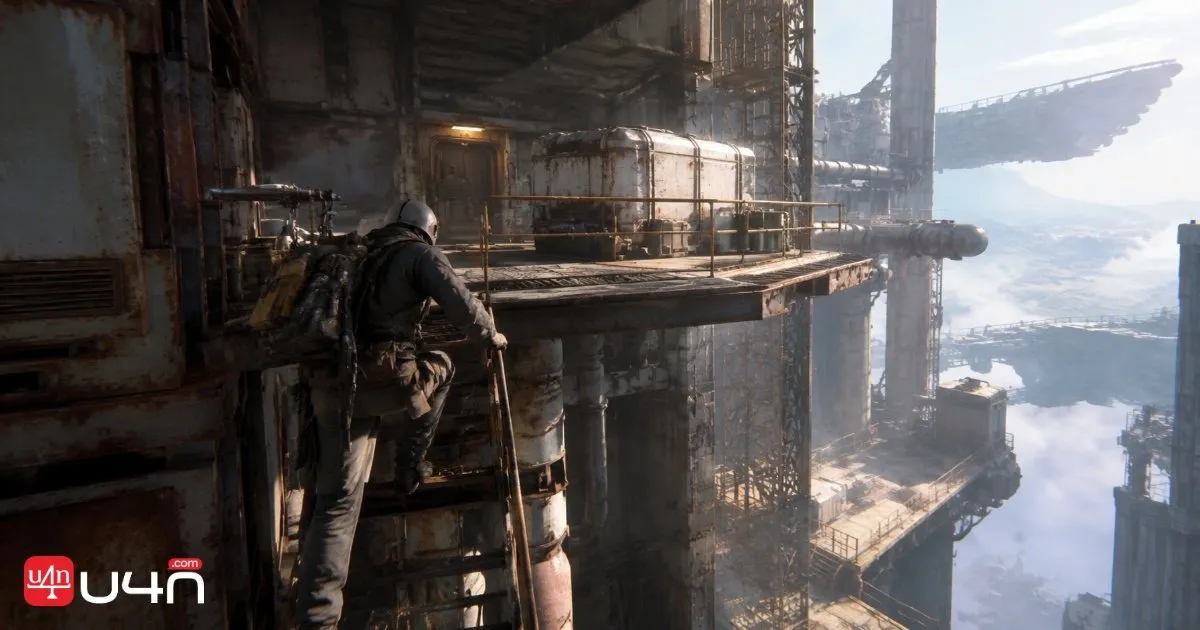
The tactical setup can be useful. Traps may create a delay for someone following us, while a smoke effect may help us break line of sight after taking damage. The objective is to create enough space to continue looting or reposition safely.
We shouldn't assume that every player will pursue us, however. Nor should we expect traps or smoke to make a contested area safe. The best response depends on the situation, our available tools, and whether the remaining loot is worth the risk.
For experienced players, the advanced movement setup offers another option: using less obvious routes to reach loot and reduce exposure. This requires familiarity with the terrain and careful control of movement tools. Attempting a difficult route without practice can turn a low-cost run into an avoidable failure.
Consider ending the run or abandoning the planned route when:
Naked farming works because it controls the cost of failure. Ignoring a dangerous situation just to collect one more item undermines that advantage.
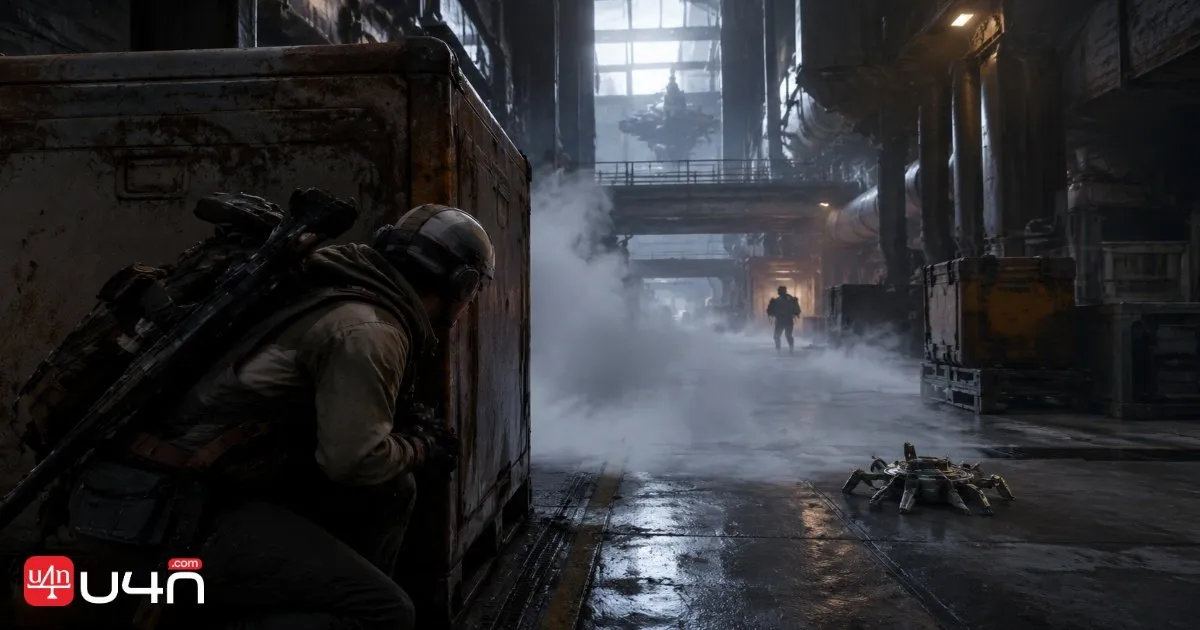
Even a low-cost setup can waste time if we approach it without a plan. These are the main mistakes to watch for.
Our recommendation is to master the basic setup first. Once the route feels consistent, add tactical equipment or advanced movement tools according to the risks you encounter most often.
Naked farming in ARC Raiders is a resource-management strategy built around low equipment investment, secure storage, and efficient movement. The three-level approach gives us a practical progression: start with a simple Mark 2 setup, add tactical options with Mark 3, and move toward advanced mobility and stealth when we're confident in our execution.
Frigate rewards a focused approach to reaching and searching loot panels, while Emperor calls for greater awareness of player competition. Neither location is risk-free, and no loadout guarantees a clean run. The goal is to collect valuable resources without spending more than necessary to do so.
Before your next raid, review your route and prioritize the resources that matter most. A clear plan for ARC Raiders Loot can help you make better decisions about what to collect, what to protect, and when to leave.
Yes. The basic setup is the easiest starting point because it emphasizes simple resource collection and lower equipment investment. Beginners should learn the route before attempting advanced movement techniques.
The tactical setup may be useful when you expect other players to contest the area. The advanced setup can offer more movement options, but it requires practice. The best choice depends on your route, equipment availability, and comfort with the game's movement mechanics.
Not necessarily for every run. The original strategy emphasizes entering without a conventional combat loadout, but it also notes that a weapon may be useful for dealing with certain weak points. Check the requirements of the route you're using before deciding to leave weapons behind.
No. It reduces the amount of equipment you put at risk, but you can still lose unsecured items, make movement mistakes, or fail to reach your intended loot. Secure pockets help protect eligible items within their limits; they don't guarantee that every run will pay off.