购物车空
继续购物Early leveling in MapleStory Classic World is about more than finding a crowded map and grinding until the next level. We need to balance monster density, party coverage, damage consistency, potion costs, and the value of drops. Our route through the first 35 levels focuses on those practical decisions, including how to manage MapleStory Classic World Mesos without sacrificing too much training efficiency.
This guide follows a veteran player's route through the early game, from Maple Island to Ellinia's forests and Kerning City's Damp Forest. We also examine the reasoning behind an unconventional Hunter skill build, including why keeping Arrow Blow below its maximum level can make sense for one player's resource strategy. Treat the route as a practical starting point rather than a universal ranking: map population, equipment, and actual damage output can change which training spot works best.

The most useful part of this route is its progression through different training environments. Early on, completing quests helps us reach the first job advancement. Once we arrive on Victoria Island, party-friendly maps become increasingly important, and later levels require more attention to competition and consumable costs.
| Level range | Recommended area | Main reason to train here |
|---|---|---|
| Lv. 1–10 | Maple Island, then Lith Harbor | Complete useful starter quests and reach the first job advancement |
| Lv. 10–14 | Dungeon Southern Forest 1, commonly called Slime Tree | Establish an early party and train across the map's platforms |
| Lv. 14–20 | Forest of Wisdom | Use the large map layout and look for Green Mushroom drops, including Pan Lid. |
| Lv. 20–25 | Horny Mushroom Tree | Continue party grinding, choosing the northern or southern version based on condition.s |
| Lv. 25–30 | Damp Forest | Use the route through Kerning City for convenient access and potion restocking.ng |
| Lv. 30–35 | Damp Forest, if still efficient | Continue only while kill speed, party coverage, and resource costs remain reasonable. |
These ranges reflect the route described by the player, not verified breakpoints at which every class should change maps. A Bowman with limited damage, for example, may have a very different experience from a character that kills the same monsters in one or two attacks.
Maple Island is the natural starting point. We recommend completing the useful introductory quests rather than trying to grind every level from monster kills alone. After reaching Victoria Island, pick up convenient quests in Lith Harbor, but avoid spending too much time chasing a minor quest item if the remaining experience is easier to earn through combat.
The practical objective is simple: reach level 10, complete the first job advancement, and move into a training routine suited to the class you have chosen.
For a new character, this is also the right time to review the skill bar, potion hotkeys, and basic movement. Small setup mistakes become more expensive once monsters deal more damage and the character starts consuming potions continuously.
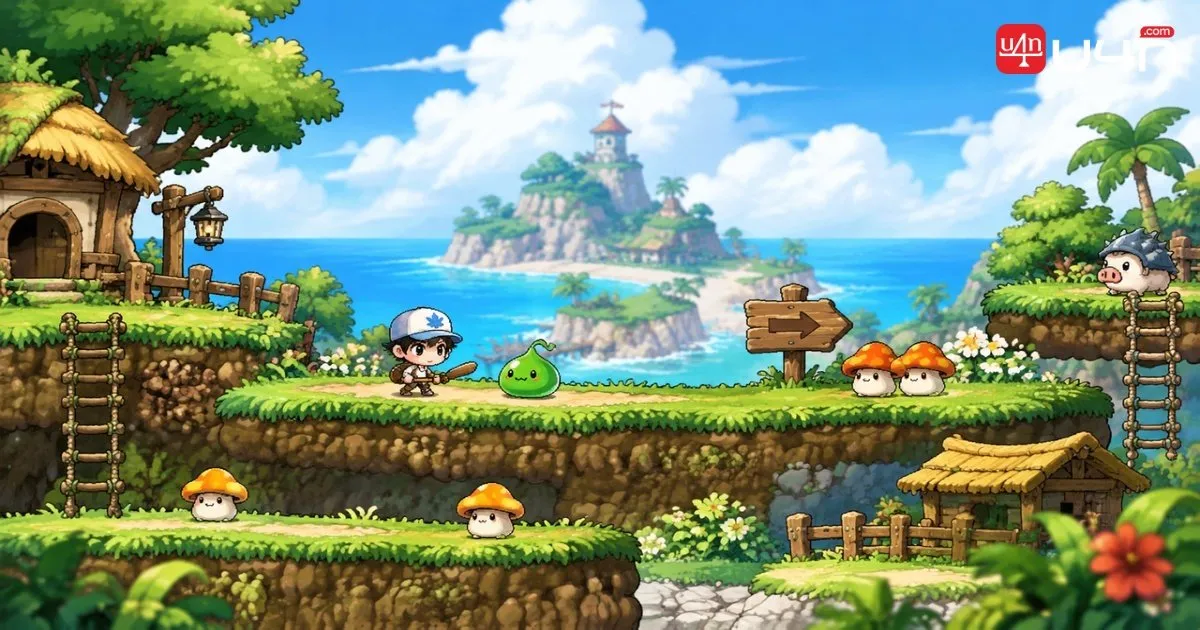
The recommended route heads to the southern forest near Ellinia and continues to Dungeon Southern Forest 1, commonly known as Slime Tree. The map's platforms make it suitable for dividing training space among party members.
Our advice is to join a party when the map supports it, but pay attention to the actual distribution of monsters. A full party is not automatically more efficient: if too many players compete for too few targets, individual experience gains can suffer.
Use this stage to learn how your class performs against the local monsters. If your attacks frequently miss or require too many hits, it may be better to improve your equipment or try a less contested area rather than assume that more grinding will solve the problem.

Forest of Wisdom offers a larger training area with multiple platforms and routes between sections. The player recommends forming a party of up to six and spreading members across the map.
One useful consideration is the Green Mushroom population. The chance of obtaining a Pan Lid gives players another reason to consider this area, since a desirable drop can offset some training expenses. However, a possible drop should be treated as a bonus, not guaranteed income.
Before settling into a long session, check three things:
- Monster access: Can your assigned platform supply enough targets?
- Attack efficiency: Are you consistently killing monsters without excessive MP use?
- Party balance: Are members distributed sensibly, or are several players fighting over the same spawn area?
If the map is heavily contested, the theoretical value of its layout matters less than the experience you can actually earn.

At level 20, the route moves to Horny Mushroom Tree. The player identifies both southern and northern versions as viable options, with a preference for the northern area.
For party training, the main advantage is the ability to spread players across different sections instead of forcing everyone to compete for the same monsters. Ranged classes such as Archers can benefit from holding a suitable platform, provided the spawn pattern allows them to attack consistently.
We would not treat the northern map as an automatic upgrade for every character. Compare the available monsters, travel time, competition, and the number of attacks required to kill each target. If the southern map is quieter, it may deliver better practical results than a more popular alternative.

Damp Forest is the next major stop in the route. The player reaches it through Kerning City, making the town a convenient place to replenish supplies before heading into the swamp.
This matters more than it might seem. A training route is not just the time spent fighting monsters. Travel, restocking, and returning to the map all affect how much time we spend earning experience. A convenient supply point can be valuable even if another route appears similar in combat efficiency.
The player describes Damp Forest as a four-person map, with a possible five-person arrangement if three members cover the bottom. A six-person party is considered excessive for this layout.
| Party setup | Practical consideration |
|---|---|
| Four players | The arrangement described by the player; each member can cover a defined section |
| Five players | Potentially workable if the lower area can support another member |
| Six players | May leave some members with poor coverage or too few targets |
These are theplayers's observations about the map layout, not guaranteed optimal party sizes. Actual results depend on spawn availability, character mobility, and whether each member can reliably kill the monsters assigned to them.
The original route continues through Damp Forest to level 35. This is a useful reminder that reaching a recommended level does not always mean we must change maps immediately.
However, staying is worthwhile only if the map continues to deliver acceptable results. Before committing to another long session, evaluate the following:
- Are monsters available often enough to keep attacking?
- Can we kill them without repeatedly spending several attacks on each target?
- Is the party earning experience efficiently across all assigned sections?
- Are potion and ammunition costs becoming disproportionate to the rewards?
If the answer to several of these questions is no, test another map rather than following the level range mechanically. The original player mentions Ant Tunnel as an alternative, but does not provide enough comparative data to establish which area is more efficient.
The central lesson of this route is that experience per hour and net currency efficiency are connected, but they are not the same thing.
A map can offer good monster density while still being a poor choice for a character that cannot kill quickly enough. Conversely, a quieter area with fewer monsters may be more sustainable if it reduces competition and consumable use.
Prioritize upgrades that consistently reduce the number of attacks needed to kill a monster, rather than upgrades that only look better on the equipment screen.
We recommend assessing a training spot across four practical factors:
| Factor | What to observe | Why it matters |
|---|---|---|
| Kill speed | Average attacks required per monster | More attacks can mean slower leveling and higher MP costs |
| Spawn access | How often you have a target available | Competition reduces the value of an otherwise good map |
| Consumable use | HP potions, MP potions, arrows, and buffs | Repeated expenses can erode the value of monster drops |
| Drop value | Currency and useful items obtained | Valuable drops can improve returns, but are not guaranteed |
A player who kills monsters in one or two attacks may find a popular map sustainable. Someone who needs three or more attacks could experience lower throughput and higher costs in the same location.
This is why we should avoid treating a level recommendation as a fixed rule. Our damage output, accuracy, equipment, and party role all influence whether a map is worth staying in.
The Pan Lid mentioned at Forest of Wisdom is a good example of a drop worth noticing. An item can have value beyond its immediate usefulness, but its contribution to our training budget depends on the actual drop rate, market demand, and selling price.
The same principle applies to consumables. Before buying a large supply of potions or upgrading equipment, consider whether the purchase will improve our training efficiency enough to justify its cost. Attack potions may help a character cross a useful damage threshold, but the benefit depends on the monsters being fought and the character's current stats.
The player chooses Hunter despite believing Crossbowman performs better in the version being played. The decision is based on personal preference for the bow's longer-term skill progression, particularly Arrow Rain and Hurricane, rather than a claim that Hunter is the strongest early-game class.
That distinction matters. A class can be less comfortable during the first few dozen levels and still be the right choice for someone who enjoys its later playstyle.
The player's unusual decision is to leave Arrow Blow at level 11 rather than immediately maxing it. The reasoning is that higher ranks consume more MP, while the player does not expect the additional damage to make the current training route meaningfully faster.
This is a personal cost-management strategy, not a universal recommendation. Its success depends on whether the lower skill rank actually preserves the same number of attacks per kill. If increasing Arrow Blow allows us to defeat a monster in fewer hits, the additional MP cost may be justified by faster kills.
The player's other first-job decisions follow the same practical logic:
| Skill | Player's approach | Decision to consider |
|---|---|---|
| Arrow Blow | Leave at level 11 initially | Check whether more ranks change the number of attacks needed per kill |
| Focus | Invest for additional evasion | Consider whether the defensive benefit meaningfully reduces incoming damage. |
| Power Knock-Back | Avoid investing early | Prioritize only if knockback solves a recurring combat problem |
| Double Shot | Defer investment | Compare its damage, MP use, and target behavior against the current single-target approach.h |
The important point is not to copy the skill levels blindly. We should identify the problem each skill is meant to solve, then decide whether that benefit is worth the SP and resource investment.
For the second job, the player plans to take an early point in Arrow Bomb, invest in Soul Arrow to reduce dependence on physical arrows, and then prioritize Bow Mastery before developing Arrow Bomb further.
The reasoning reflects three separate needs:
- Bow Mastery: A foundation for the bow-focused build.
- Soul Arrow: A convenience and ammunition-management option that can reduce the need to buy or restock arrows while the effect is active.
- Arrow Bomb: A skill the player wants to develop for the Hunter's second-job progression.
The player also considers adding more Soul Arrow ranks later to reduce the frequency of recasting it. That is a reasonable convenience consideration, but it competes with points that could improve damage or other skills.
We recommend choosing between an early Soul Arrow and a more damage-focused progression based on actual play. If arrow restocking repeatedly interrupts sessions, the convenience may be worth prioritizing. If ammunition is easy to manage and kills are slow, improving combat performance may deliver greater immediate value.
The player describes Crossbowman as stronger at the time of recording, particularly because of Iron Arrow, while preferring Hunter's anticipated long-term skill experience.
For new players, the best choice depends on what they value most:
- Choose Hunter if the bow-based playstyle and its expected later skills are the main attraction.
- Consider Crossbowman if the current version's available skills better suit your preferred early combat pattern.
- Avoid choosing solely by reputation. Actual damage, equipment, party composition, and the cost of maintaining your training routine can change your experience.
The original player is clear that Hunter is not necessarily the easiest path. We think that is the right perspective: a class does not have to dominate every early-game comparison to be a worthwhile long-term choice.
For reference, the MapleClassic Wiki skill reference provides a class-by-class overview of skill trees. Check the current in-game descriptions and requirements before committing skill points.
Our recommended approach is to use the 1–35 route as a flexible progression plan, not a rigid checklist. Start with useful quests on Maple Island, move into Ellinia's party-friendly maps, and then evaluate Horny Mushroom Tree and Damp Forest according to the conditions you actually encounter.
The biggest mistake is staying in a popular training spot simply because someone recommends it. If monster competition reduces your kills, your damage requires too many attacks, or consumable costs keep rising, reassess the map before investing another hour. Keep your equipment and potion budget under control, and treat valuable drops as potential bonuses rather than guaranteed income.
For Hunter players, the same principle applies to skill points. The decision to leave Arrow Blow at level 11 makes sense only if the saved MP outweighs the damage lost in your actual training routine. Before spending heavily on upgrades or consumables, review your options for MSCW Mesos and make sure your spending supports a more sustainable leveling pace.
The route discussed here is Maple Island and Lith Harbor for levels 1–10, Slime Tree for 10–14, Forest of Wisdom for 14–20, Horny Mushroom Tree for 20–25, and Damp Forest from 25 onward. Adjust the route according to map competition and your damage output.
It is the location used by the player in the original walkthrough. Whether it remains efficient depends on spawn access, party size, kill speed, and consumable costs. Ant Tunnel is mentioned as an alternative, but the original material does not establish a definitive winner.
The player wants to control MP consumption without noticeably slowing down kills. This works only if the lower skill rank still delivers acceptable damage against the monsters being trained on. Players who need fewer attacks per kill after upgrading Arrow Blow may benefit more from investing additional SP.
An early point in Soul Arrow can reduce arrow consumption while the skill is active. Whether to invest further depends on how frequently you need to restock ammunition and whether the saved time and currency outweigh the benefits of alternative skill investments.
The player prefers Hunter for its anticipated long-term skill progression but considers Crossbowman stronger in the version being played. This is a personal assessment, not a conclusive class ranking. Compare current skill behavior, early training efficiency, and your preferred combat style before choosing.