购物车空
继续购物In ARC Raiders, the right weapon and shield combination can make a major difference in close-range fights. Our team has looked at a loadout built around the fully amplified Toro shotgun and Heavy Shield, a setup the original gameplay creator describes as almost impossible to beat. Its appeal comes from combining strong defensive potential with the burst damage needed to pressure enemies at close range.
The build is designed for players who want to take fights confidently without relying on a single weapon upgrade alone. The Toro provides the offensive focus, while the Heavy Shield supports a more aggressive approach. Before putting together your own setup, it helps to understand the recommended attachments, the role of each equipment choice, and the situations where this combination may struggle. Players looking for additional gear options can also browse ARC Raiders Items when planning their next loadout.
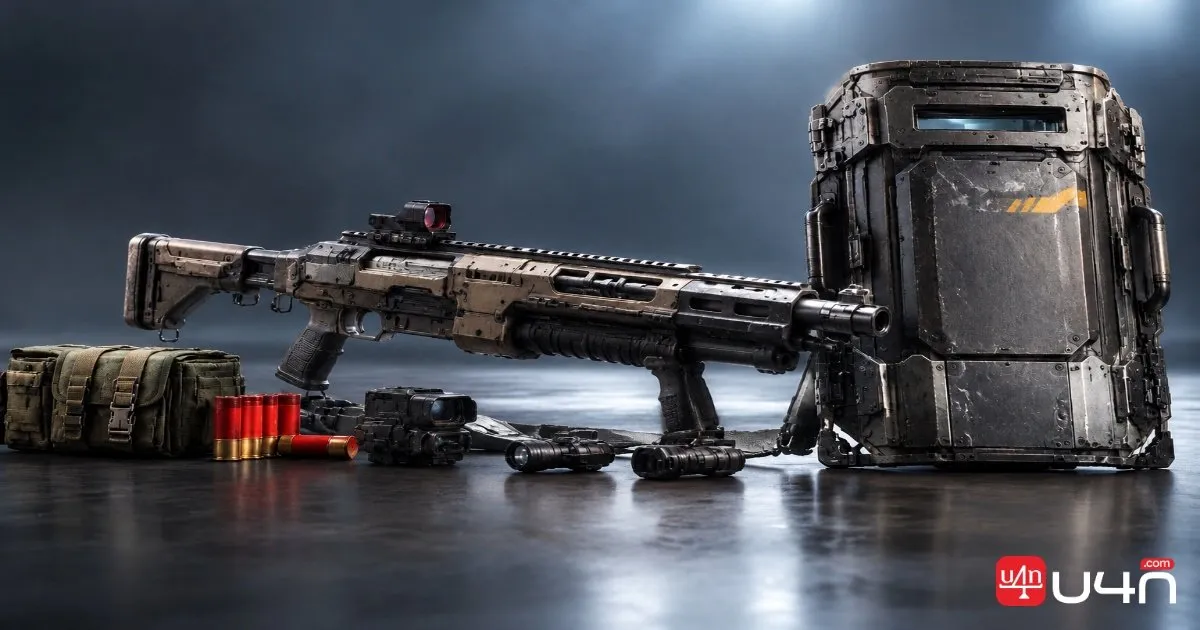
| Equipment Slot | Recommended Setup |
|---|---|
| Main Weapon | Toro Shotgun |
| Weapon Setup | Fully Amplified |
| Ammunition | Buckshot |
| Attachment | Kinetic |
| Magazine | Extended Magazine III |
| Grip | Vertical Grip II |
| Muzzle Attachment | Shotgun Choke III |
| Shield | Heavy Shield |
| Augment | Guardian or Defensive |
This setup gives players a clear starting point without requiring them to experiment with every available combination at once. We recommend building around the Toro and Heavy Shield first, then evaluating whether the chosen Augment fits your preferred approach to combat.

The main idea behind this build is straightforward: combine a weapon focused on close-range pressure with a shield that the creator considers particularly effective in the current meta.
We favor the Heavy Shield over the Medium Shield, pointing to movement-speed-related skills and a recent Heavy Shield improvement as reasons for the preference.
The Toro is the offensive centerpiece. Many opponents continue to use blue shields, creating opportunities to eliminate them quickly with well-placed shotgun shots.
For our team, the important takeaway is not that this combination makes every fight easy. It is that the loadout aims to give players both the confidence to hold their ground and the firepower to punish enemies who enter effective shotgun range.
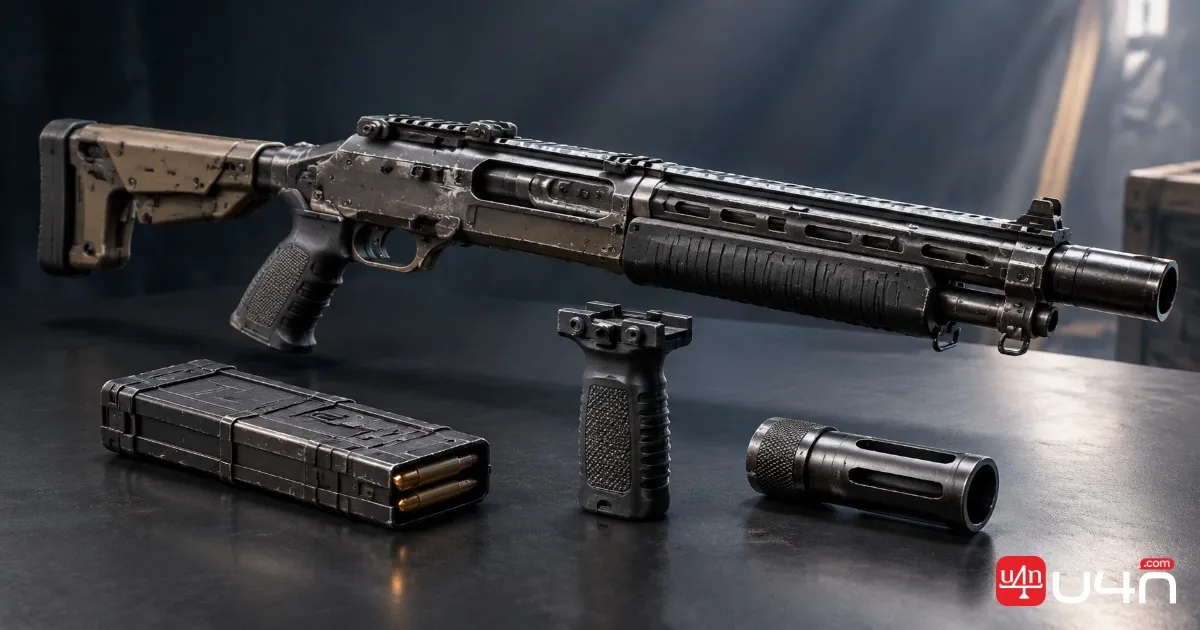
Kinetic: This is part of the creator's listed Toro configuration. Check its current in-game description before changing it, especially if you are comparing alternative weapon setups.
Extended Magazine III: The build uses this magazine configuration. When reviewing your own setup, consider how magazine capacity and reload timing affect your ability to handle successive encounters.
Vertical Grip II: This grip is included in the recommended configuration. Its exact contribution should be checked against the current in-game attachment description.
Shotgun Choke III: The creator also uses this shotgun attachment. Before treating it as essential, verify its current effect and consider how it fits your preferred engagement distances.
We leave the Augment choice to the player, offering Guardian and Defensive as the two options.
Our advice is to check their current effects and select the one that best supports your intended playstyle. Avoid assuming that one is automatically superior simply because the video presents the overall loadout as exceptionally strong.
Early fights feature rapid eliminations, prompting praise for the build's performance. These moments support the idea that the Toro can be dangerous in close-range engagements when the player lands effective shots.
The squad also moves around a bridge, watches enemy positions, and coordinates its next actions. These moments reinforce a practical lesson: equipment alone does not determine the outcome of a fight.
Even with a powerful shotgun and a defensive setup, players still need to watch their surroundings, communicate with teammates, and avoid moving into danger without a plan.
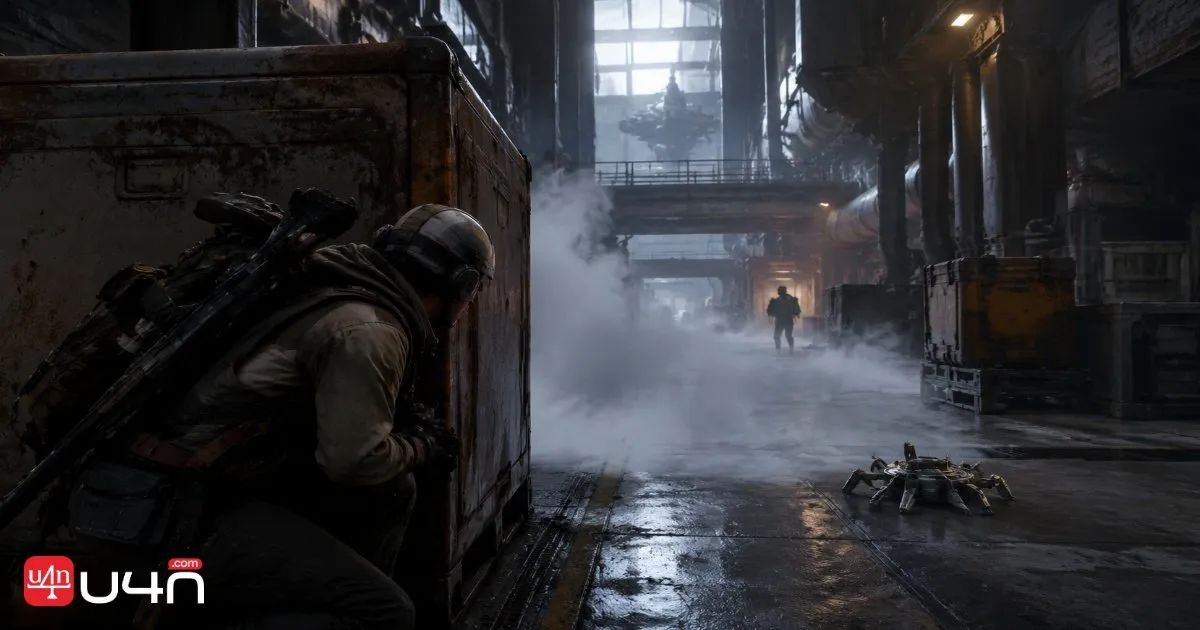
A strong loadout can improve your options in a fight, but it cannot remove every threat. Poor positioning, unexpected enemy pressure, or an unfavorable encounter can still turn a promising run into a loss.
After the death, the team attempts to recover the lost weapon. We eventually retrieve it, highlighting the value of teamwork and persistence.
Before attempting to recover valuable gear, assess nearby threats and consider whether the potential reward justifies the danger.
This loadout should not be treated as a guaranteed win. It reveals several practical concerns.
Our team recommends judging this setup by how well it fits your own combat habits rather than expecting it to make you invulnerable. Practice your positioning, understand the Toro's effective range, and keep track of your team's resources before committing to another fight.
The fully amplified Toro and Heavy Shield combination is an interesting option for players who favor aggressive close-range combat.
The best approach is to start with the listed configuration, verify attachment and Augment effects in the current game version, and adjust the setup to your needs. Players planning broader equipment upgrades can also review ARC Raiders Materials to help organize their progression.
Ultimately, this is a loadout worth testing if its playstyle suits you, but the available footage does not prove that it is the strongest build in every situation.
We describe it as exceptionally strong, especially against opponents using blue shields.
The setup lists Kinetic, Extended Magazine III, Vertical Grip II, and Shotgun Choke III.
We recommend either option based on personal preference. Compare their current effects and select the one that best fits your playstyle.
No. Results can vary with combat conditions and shot placement.