购物车空
继续购物The Emperor Modulator is an important item for players working toward Gunsmith Level 4 in ARC Raiders during the Frozen Trail update. Finding one means preparing an Emperor Gateway Conduit, opening the entrance on Pandola Pass, and navigating a dangerous interior filled with turrets, electrical hazards, and timed obstacles. Our team recommends planning the entire run before deploying rather than treating the Emperor as an ordinary loot location. Bringing suitable ARC Raiders Items, especially a grappling hook and a weapon capable of handling ARC threats, can make the expedition much more manageable.
The main challenge is not simply reaching the Emperor. You also need to gather the required materials, locate a suitable container, and leave before the timer becomes a problem. The Emperor Modulator does not appear to be a guaranteed reward from every container, so we would avoid relying on a single fixed loot route. Instead, prepare for the entrance, move through dangerous sections efficiently, and give yourself enough time to extract if the item takes longer to find.
The key to finding the Emperor Modulator is to prepare the Emperor Gateway Conduit, navigate the interior hazards efficiently, search containers carefully, and leave enough time to extract.
Before deploying to Pandola Pass, check your equipment and make sure you understand how to obtain the Emperor Gateway Conduit. Without this key, you cannot open the Emperor's entrance through the method described in this guide.
| Preparation | Why It Matters |
|---|---|
| Emperor Gateway Conduit | Opens the Emperor entrance |
| Grappling hook or Snap Hook | Helps cross a difficult elevated section and improves movement options |
| Reliable weapon | Lets you deal with turrets and other threats |
| Sufficient ammunition and healing supplies | Reduces the chance of running out of resources during a prolonged expedition |
| A clear extraction plan | Prevents extended looting from leaving you stranded when the timer runs low |
The grappling hook deserves particular attention. One section inside the Emperor appears designed around this movement tool, and finding an alternative route may not be practical. We would bring one before attempting the run rather than discovering the problem after entering.
You should also expect combat early in the expedition. A capable weapon is more useful than a loadout built entirely around carrying loot, especially when an active turret can interrupt your progress.
There are two main routes to consider: crafting the Conduit yourself or using the one available through the reward pass if you have reached the relevant reward tier.
The blueprint is the first major hurdle for players pursuing the crafting route. According to the original run described in this guide, it can drop from regular canisters on the surface. However, the drop is inconsistent: some players may find it quickly, while others may need several raids. Guides also describe the blueprint and Couplers as rewards from Harvester Payloads during the Redirection map condition on Pendola Pass. AllThingsHow outlines the Conduit materials and Redirection farming process.
We recommend treating blueprint hunting as a separate preparation task. Search suitable regular canisters when doing so fits your route, but avoid assuming that a particular container will always provide the blueprint. Once you obtain it, learn it from your inventory.
The reported crafting requirement is Workbench Level 1, making the blueprint relatively accessible once it has been acquired. Confirm the current in-game recipe before spending resources, as requirements can change between updates.
To craft the Emperor Gateway Conduit, you need three different Couplers:
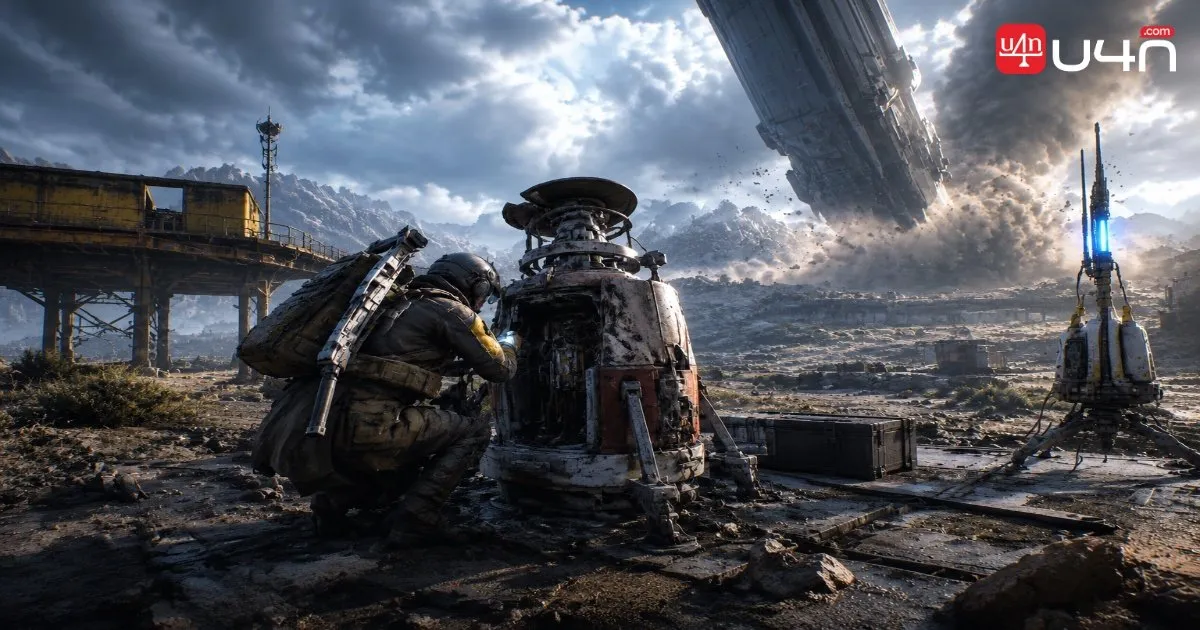
The original route obtains these materials from Harvester Payloads called in by an Emperor Beacon. Follow this sequence:
Stay clear of the impact area. The falling debris can deal heavy damage, so do not stand beside the Beacon after deploying it. Moving to cover first is a much safer approach than trying to loot the landing zone immediately.
If you find duplicate Couplers, consider keeping them. Teammates who want to enter the Emperor may need their own materials, depending on how they obtain and use the Conduit.
Once you have learned the blueprint and collected all three Couplers, craft the Emperor Gateway Conduit at the Workbench.
If you are already close to the relevant reward-pass tier, check whether the pass offers a completed Conduit. The original guide identifies a reward near Tier 60 as an alternative, but this provides one key rather than the blueprint itself. It is therefore a limited entry opportunity, not a permanent replacement for learning the recipe.
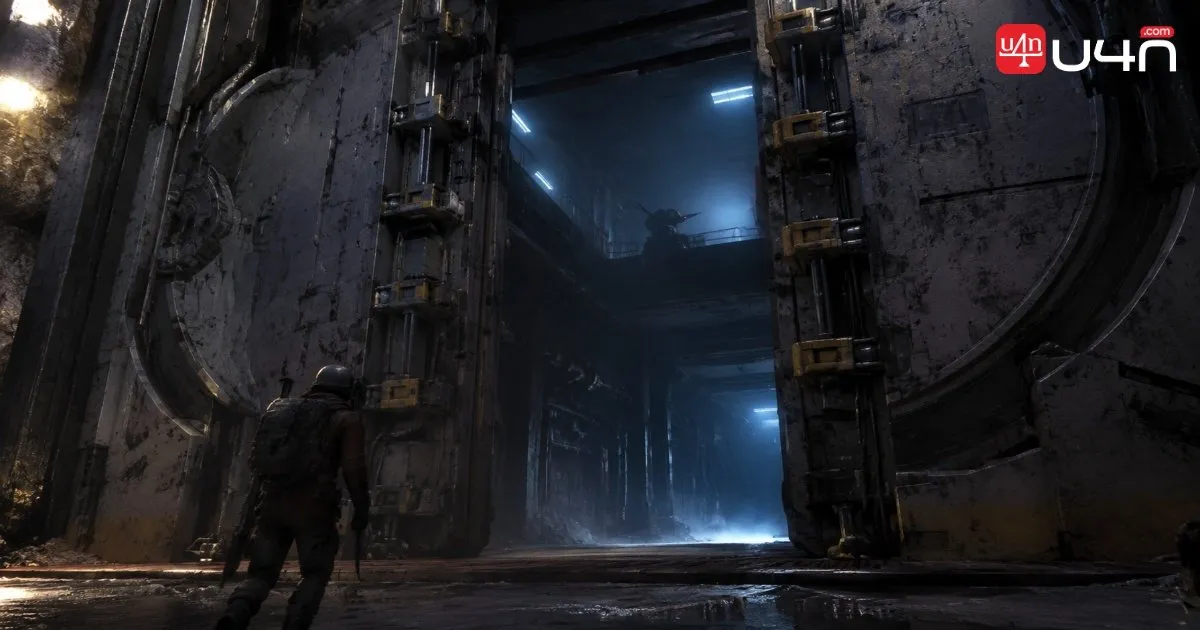
With the Conduit ready, head to the Emperor's entrance on Pandola Pass. Approach the side doors and interact with the lock when prompted to use the Emperor Gateway Conduit.
The entrance opens like a large vault door. Before moving deeper, make sure your weapon is ready: the first room contains a turret that can punish players who stop to explore before dealing with the immediate threat.
We recommend prioritizing the turret over optional loot. Clearing the immediate danger gives you more room to handle the electrical mechanism and identify the next route.
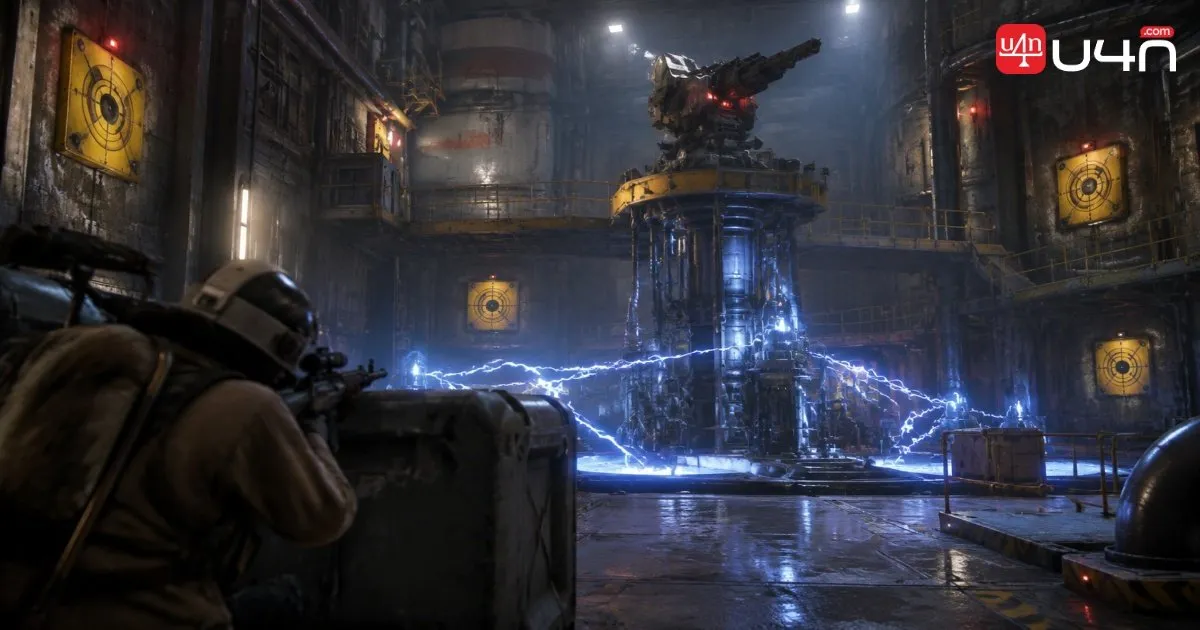
The Emperor's interior is a sequence of combat encounters, environmental hazards, and movement challenges. Progress is easier when you treat each section as a separate objective instead of rushing blindly toward the next room.
The opening area contains a turret and an electrical field in the center of the room. Deal with the turret first, then look for the yellow targets positioned around the walls.
Shoot the targets to disable the mechanism blocking further progress. Once the route is open, use the lift in the middle of the room to move upward.
Do not cross the active electrical field simply because the next objective is visible. Identify and destroy the required targets before attempting to proceed.
Further inside, expect more ARC threats and additional yellow targets. The basic approach remains the same: control immediate threats, identify the targets, and destroy them to open the next route.
Keep your ammunition and healing supplies in mind. Spending too many resources on unnecessary fights can make the later sections harder, particularly if you are exploring alone.
The gas room is one of the most dangerous sections because the walls close inward and can crush players who remain inside for too long.
This is not a room to loot. Move toward the side doors and continue down the corridor as soon as the route opens. The moving walls remain a threat, so stopping to search containers or reorganize your inventory is a poor trade.
Use your grappling hook if it helps you clear the difficult section. Before entering, make sure you know where you intend to move next rather than waiting until the walls are already closing in.
After passing the major hazards, you will encounter hatches and canisters that can contain useful rewards. However, not every container is equally safe.
| Container Type | Recommended Approach |
|---|---|
| Regular canisters | Search these for a chance to find the Emperor Modulator |
| Orange-glowing canisters | Avoid looting them if they behave as described in the original run; they can explode and deal substantial damage. |
| Breachable hatches | Check them for potential Amplification Modules and other useful rewards |
The original player found the Emperor Modulator in a regular canister several floors into the structure. This is a useful lead, but it should not be treated as a guaranteed spawn location. Continue checking suitable regular containers as you progress, while weighing each detour against the time remaining.
The Emperor can also provide Amplification Modules, including higher-tier examples reported by the original player. These are worthwhile secondary rewards, but the Modulator should remain your main objective if Gunsmith progression is the reason for the run.
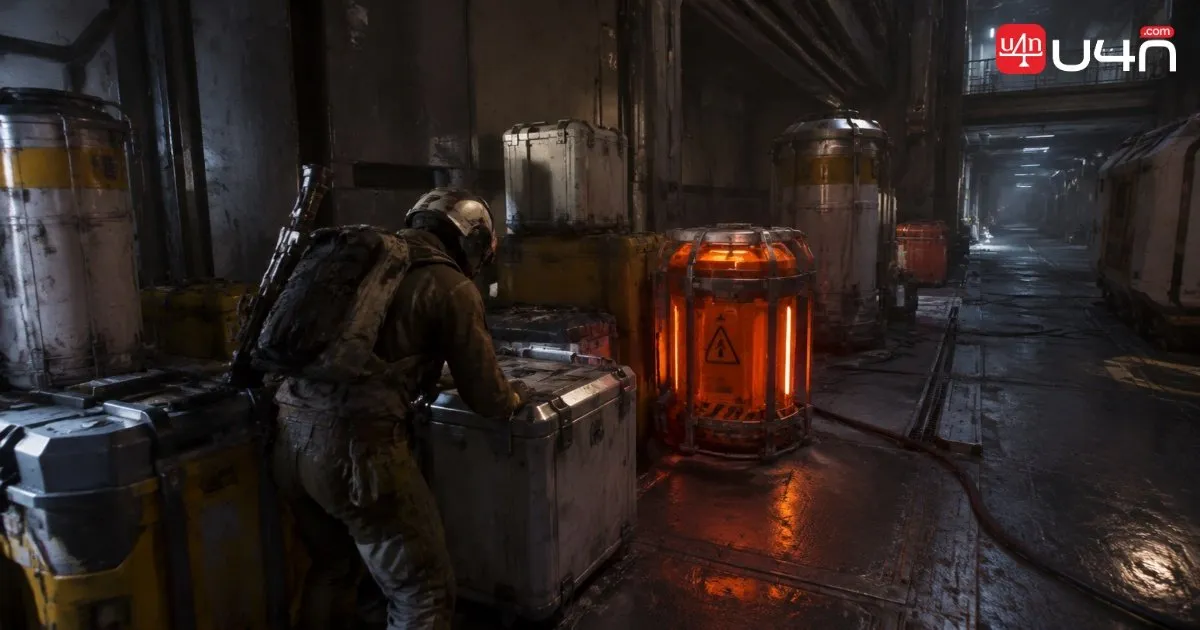
You can attempt the Emperor alone, although the run becomes more demanding when you must handle every turret and hazard without help. The original player still found useful modules while solo, suggesting that a solo expedition can be worthwhile if you are comfortable managing the extra pressure.
For a solo run, prioritize the route over optional loot. For a group, coordinate who handles threats and who searches containers, and avoid splitting up without a clear plan for regrouping.
Watch the timer throughout the expedition. Once it starts getting low, stop searching new containers and begin returning toward the entrance. The exit route leads back around to the front of the Emperor, where you can use the ballistic gondola extraction described in the original run.
Our practical rule is simple: a successful extraction with useful rewards is better than losing the entire haul because you stayed for one more container. The Emperor Modulator is the primary goal, but surviving the expedition is what lets you keep the rewards.
To get the Emperor Modulator, prepare a grappling hook and a reliable weapon, then obtain an Emperor Gateway Conduit by crafting it or using the relevant reward-pass option. The crafting route requires the blueprint and one each of the Plated, Conductive, and Insulated Couplers.
Once inside the Emperor, clear the opening turret, destroy the yellow targets to progress, move quickly through the gas room, and search regular canisters without assuming the Modulator has a fixed spawn. Avoid dangerous orange-glowing containers, keep track of your timer, and return to the front entrance before extracting by ballistic gondola.

The key to a reliable run is preparation and route discipline. If you are still gathering the materials or comparing the crafting requirements for other ARC Raiders Blueprints, verify the current in-game details before committing to another expedition.
No guaranteed drop is established by the original run. The player found the Modulator in a regular canister several floors into the Emperor, but other players may need to search multiple containers or complete additional raids.
You need access to a Conduit to open the entrance. The crafting route requires learning the blueprint and collecting the three Couplers, but the original guide also describes a reward-pass option that provides one completed Conduit.
Yes, according to the original player's experience. However, solo runs place more pressure on your ammunition, healing supplies, movement, and ability to handle turrets without assistance.
Prioritize avoiding the active electrical field, the closing walls in the gas room, and orange-glowing canisters that may explode when looted. Deal with threats before searching optional containers, and leave enough time to reach extraction.
The original player reported a difficult elevated section where a grappling hook was strongly indicated and no practical alternative route was found. Bringing one is the safer choice, although the exact traversal requirements should be checked against the current game version.